Inspection services for all non-destructive testing methods according to EN ISO 9712
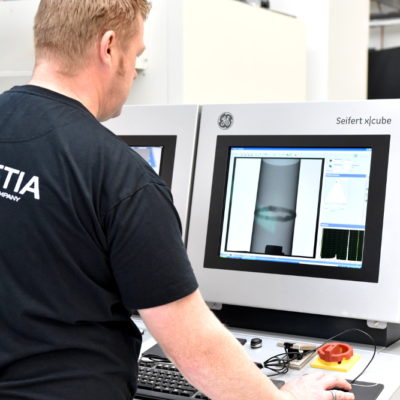
The range of different NDT methods can cover a large spectrum of applications in many industrial fields, such as:
- Energy
- Automotive
- Marine
- Metal industry
- Additive Manufacturing
- Plant engineering, electronic components
- Building services engineering / Technical building services
We would be glad to consult you on the different fields of application and on our range of services. Further down on this page you may find an overview of typical use cases for the various ISO 9712 NDT methods. This overview can also be downloaded as a brochure (PDF).

Penetrant Testing (PT)
Fast and cost-efficient inspection of surface defects or porosity
Suited for: non-porous materials like plastic or metal
Typical industry use cases for this method:
- Pipes and containers
- Welds (e.g. on ships and pipes)
- Valves
- Turbine parts

Magnetic Particle Testing (MT)
Inspection of surface and sub-surface discontinuities. Also suited for complex part geometries and unmachined surfaces.
Suited for: ferromagnetic metals, cast parts
Typical industry use cases for this method:
- Pipes and containers
- Welds (e.g. on ships and pipes)
- Valves
- Industrial plants

Radiography Testing (RT & RT-D)
Detection of defects within parts, for example on welds and composites
Suited for: metals, cast parts, additive manufactured parts, composites, ceramics
Typical industry use cases for this method:
- Welds (e.g. on ships and pipes)
- Electronic components
- Complex printed parts
- Industrial plants

Computed Tomography Testing (CT)
High-definition analysis of defects on surface and inside of parts with complex geometries.
Suited for: metals, cast parts, additive manufactured parts, composites, ceramics
Typical industry use cases for this method:
- Dimensional checks (CAD & real part in comparison)
- Complex printed parts
- Electronic components
- Pore content analysis
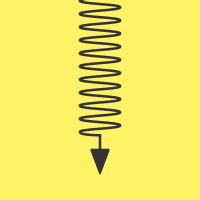
Ultrasonic Testing (UT)
High-precision detection of defects deep within parts, even at small scale.
Suited for: metals and alloys
Typical use cases for this method:
- Welds (e.g. on ships and pipes)
- Thickness measuring
- Pressure vessels and pipes
- Metallic tubes and rails
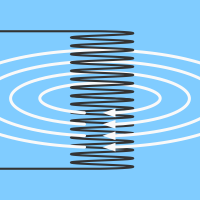
Eddy Current Testing (ET)
Surface inspection of delamination, thickness and conductivity.
Suited for: conductive materials
Typical industry use cases for this method:
- Incoming goods inspection (material recognition)
- Metallic tubes and rails

Infrared Thermography Testing (TT)
Sub-surface delamination and cracks detection; detection of material discontinuities (thickness differences), localisation of repairs, repaints or hidden parts; localisation of water inclusions
Suited for: almost all materials (with certain restrictions)
Typical industry use cases for this method:
- Thermal stress
- Building services engineering
- Water ingress

Visual Inspection (VT)
Surface inspection for quick damage detection; with or without the assistance of optical devices
Suited for: all surfaces
Typical industry use cases for this method:
- Countless applications, often in combination with other ISO 9712 methods

